Monday, 14 December 2015

Bibliography:

Book sources:
Gunn, Fenja. The Artificial Face. Newton Abbot: David & Charles, 1973. Print.
Leed, Drea, ed. Elizabethan Costuming Page. N.p., 1997. Web. 1 Apr. 2013. 
Downing, Sarah Jane. Beauty And Cosmetics, 1550-1950. Oxford, UK: Shire, 2012. Print. pg 11 and 13
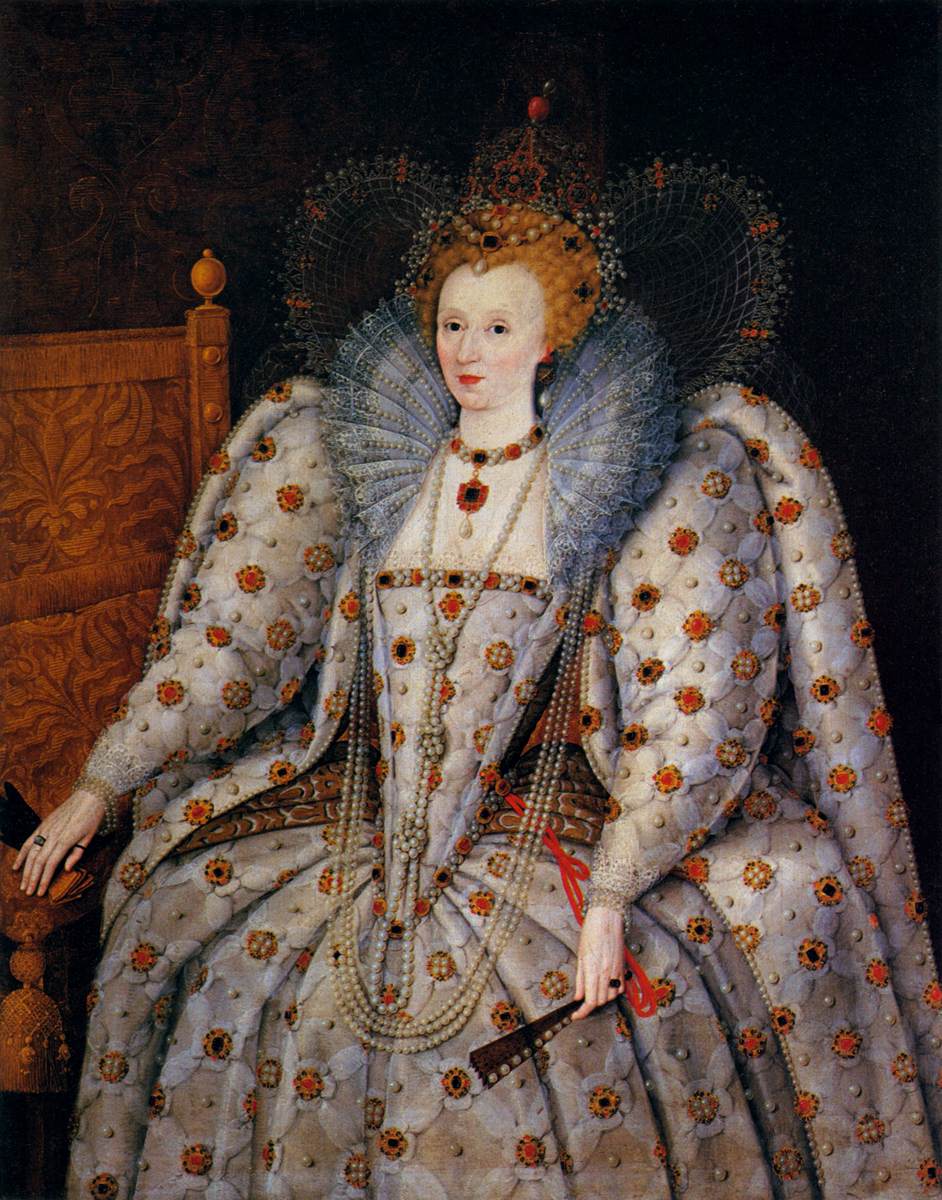
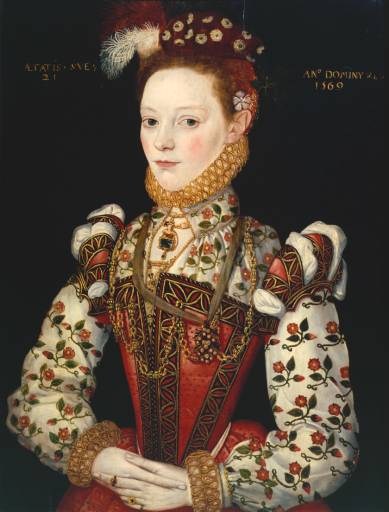
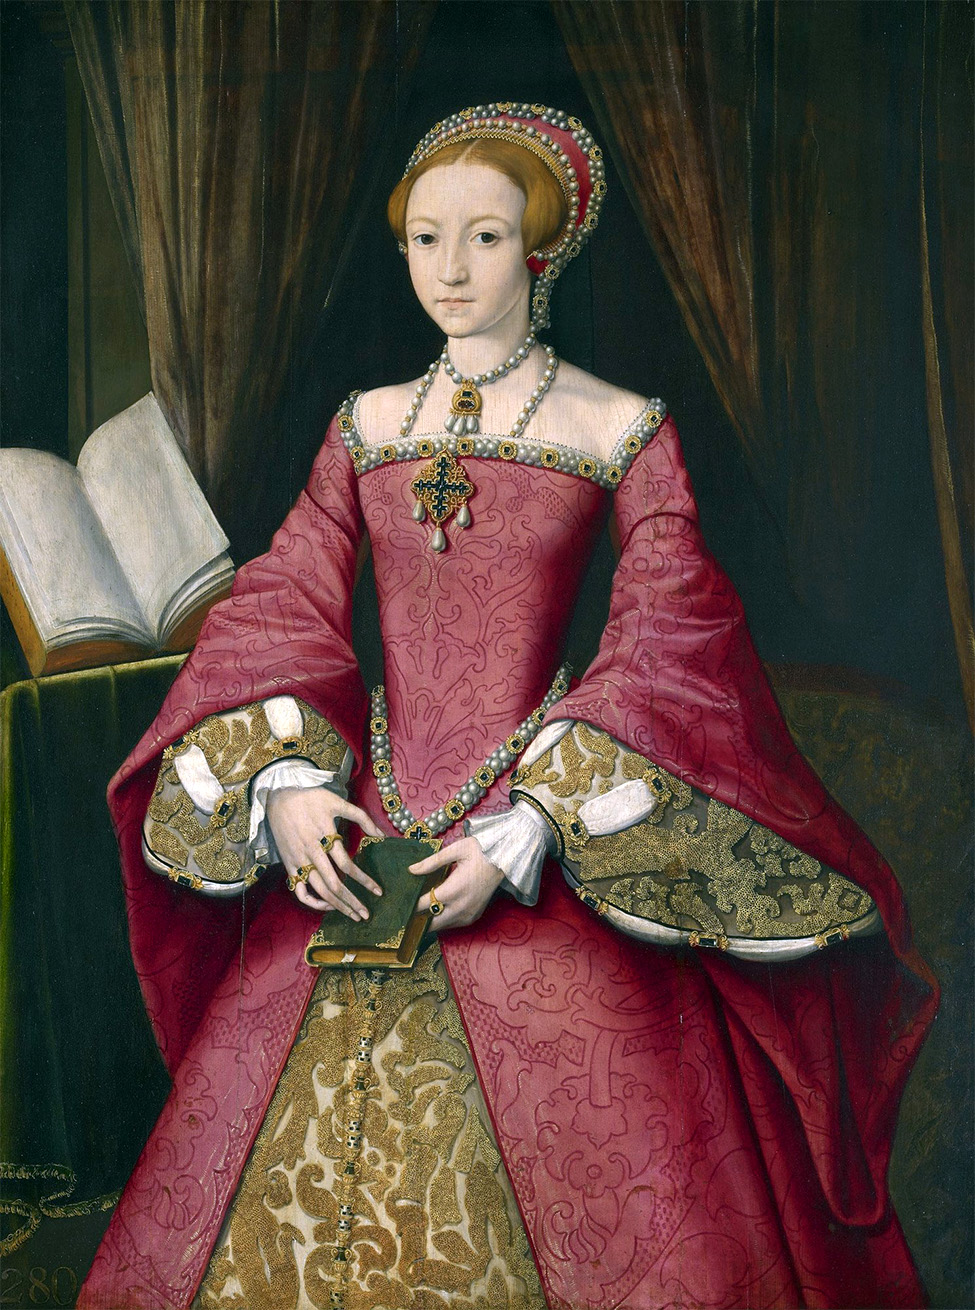
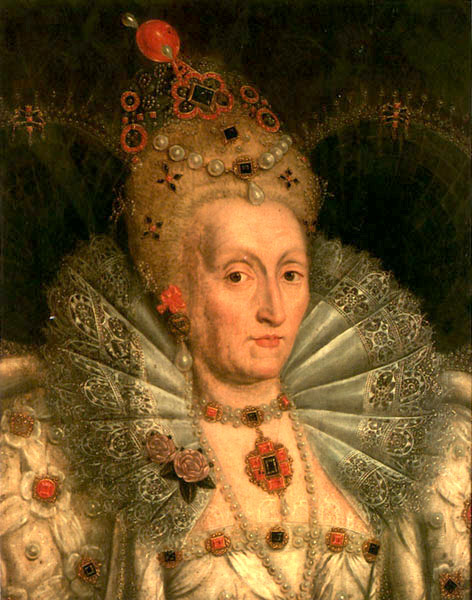
Pictures in National Portrait Gallery 'Queen Elizabeth I' Unknown artist, 1575
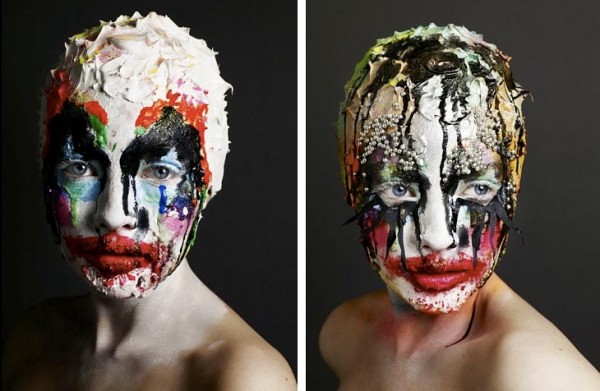
Rankin., and Alex Box. Alex Box. [London]: [Rankin Photography], 2009. Print.
Cosio, Robyn, and Cynthia Robins. The Eyebrow. New York: Regan Books, 2000. Print. pf 7 & 9

Video/Youtube sources:

Online source


Retouching the images: Photoshop CS6

After our final assessment, I decided to have a play with the images from the final look. After learning a bit more about post production I gave the images I took of Hannah a bit of a tweak. I love them!!


I didn't do much to the images as I was really pleased with how the makeup came across in the photos and didn't want to ruin the work I'd done in the final assessment.
I used PhotoShop CS6 on my mac at home and tweaked the contrast and the brightness slightly. There were also a few white splodges around Hannah's shoulders from the white hairspray we used, so I used a clone tool to get rid of these. I used the spot tool to get rid of a few blemishes around the mouth area, as well as a white splodge from the hairspray on Hannah's forehead. Finally, I used a light airbrush tool which intensified the white base and smoothed out the areas.

Wednesday, 9 December 2015

Evaluating my design and my interpretation

Throughout the technical lessons I have learnt so much. I never thought I'd have taken in so much information in such a short amount of time, or be applying my newly learnt skills to every makeup look we design and execute. I have found learning about the Elizabethans and their makeup rituals particularly interesting, which is surprising because I didn't know what the project would entail or if I would even enjoy it. As a whole I have become better at applying makeup, more confident in trying new things, and more inspired than I've ever been! I can't wait to start the next project and apply the skills I've learnt to them, and keep improving as the course progresses.

Evaluating my design:

I really enjoyed the whole creative process of designing something unique and interesting for my final assessment. I was worried about whether or not my design was a good take on the Elizabethan era or not, but I think the qualities that it is made up of really apply to the period.
For one, the pale complexion is the most noticeable aspect of a typical Elizabethan woman when we see portraits and paintings of them. I thought the Illamasqua skin base was perfect for this and created the dewy look I was after - a more modern take on the design, as Elizabethans would typically have very chalky, matte skin.
The eyelashes and brows apply to the era because Elizabethan woman often used to blank these features out as it was deemed beautiful and fashionable at the time. I was inspired by the Elizabethan makeup we practiced in one of our technical lessons for this.
The gold used in the design is my favourite feature. Gold is considered a very royal, wealthy colour and was worn by Elizabeth 1st during her rein as Queen. I wanted to incorporate this not only for that reason, but also because I knew it would work perfectly with my red (Elizabethan) hair colour. I also applied the same gold to the lips as I thought it tied the whole look together.
If I had to re-do this project, I would have loved to add in royal purples, reds and some more exciting features. I really like my design idea and was so pleased with how it turned out, but now I'm in the zone with designing I know I'd like to try something a bit more adventurous next time. I'm really happy with how the design was executed by my partner, and I can't wait for the next project!

Evaluating my interpretation: 

I felt the pressure when I was handed Hannah's design! I loved it from the start and thought it would be really easy to interpret someone else's design and idea onto them.. I was surprised at how nerve-wracking it actually was. I was constantly asking for direction in our practice sessions because I wanted to make sure my partner was happy with how I was doing her design. I know that if my design was done by someone else and it wasn't how I wanted it I'd feel disappointed, so I made sure I perfected the design before assessment day.

I have previously written about the changes we both overcame in both of our designs, and I have to say when we altered Hannah's design slightly (on the lips and brows) I felt way more involved with the design! I was glad to have been able to put in some ideas about what would create a more 'Elizabethan' feel, and Hannah told me exactly how she wanted it to look and I did as she asked. I was so pleased with the outcome of this look, it is the best work I've ever done and I was chuffed to bits with whole assessment - especially when I was complimented on my blending skills!!

Next time I really want to study the design I'm creating more. I want to feel 100% confident and practice it until I feel like I could do it with my eyes closed. I am lucky in the way that I am able to work under pressure and to a time limit, but I want my partner to be confident that I can deliver the design she was wishing for. I loved working with my partner on this and got excited about the colours and the creativity of her design.. I will definitely be working with her on some makeup looks after Christmas!

Monday, 7 December 2015

Timed assessment - in the role of the makeup artist

Final side image from the timed assessment
I think Hannah designed an absolutely beautiful contemporary Elizabethan piece. I was so excited to start practising this design and really got into staying extra hours at University to nail it and make sure it was exactly how she wanted it.

What has your partner done well?

Hannah was great at providing me with instructions on how to apply the product, face charts, pictures and provided a list of products that I'd be using to bring the design to life. The instructions I was given was a step by step guide on which products worked well with her skin, which we needed to experiment with before the assessment day, and (in order) a guide to applying the makeup. The face chart we used for the final design and the day was an accurate representation of the design and the picture we had taken of the final practise before the assessment was put up on our mirror on the day so I had that to refer to as well.

What could be improved?

Similar to my design, Hannah's design changed slightly a few times before the final assessment. Thankfully they weren't huge designs but it meant we both had to tweak a few things before the day! I think for next time a definite final design should be ready in place without any changes. Naturally, as a makeup artist practising the design and working with someone meant there were bits we thought would look better and wanted to change, and as a mutual decision these were accepted and changed for the day. If the design had changed a huge amount with little time before the final assessment this could have been a problem.

Explain how it could be improved:

I think more time for trial and error could improve the changes before the deadline! If I'd had more time to practice (even though we practiced a lot) I think the decision to change things slightly would have come sooner rather than just before the assessment. Other than this I can't think of any faults when working with Hannah, and wouldn't have called this a major fault.


Timed Assessment - in the role of the designer/assessor:

My final design by Hannah
What has the makeup artist done well?

Hannah was really good at the final design. I didn't provide a picture for her to refer to in our first practise, I used an instruction guide with a breakdown of products/brushes/the process, and a face chart with the design on it. As there wasn't a photograph for Hannah to refer to I think she struggled to interpret the design exactly how I wanted it first time around. I guided her as she went along and she did everything brilliantly despite not being 100% on what she was doing - which was great. After our first practice session I wasn't overly pleased with my design. Hannah had executed it nicely but it didn't have the wow factor that I really wanted, so as a creative team we discussed about what I could do to make it more effective. We came up with a slightly different idea (the strong line that blends out downwards at the eye) and gave this a go in the next practice session. Before this session, I went home and did it on myself, took a picture and was more prepared for Hannah the next morning. She was good with asking questions to make sure everything was how I wanted it, and practiced using the products I had supplied for her.

Identify what could be improved and how it can be improved:

Hannah definitely needs to be more confident in herself! She was fabulous at executing the design but at some points wasn't happy with how it went. I felt every time she did it I was pleased, and didn't have any faults with how it looked in the final assessment. I think she worried about time and that she wouldn't get it all finished in the hour but I assured her she would! She was surprised at herself on the day when she completed it in under an hour even though I knew she'd be fully capable. Have confidence Hannah, you are great!

I was really pleased with the overall application and the process of practicing with Hannah. She was fully committed to spending time to get the design right, and helped me as a creative partner to improve my design when I lost confidence in it. We worked really well as a team and both felt so pleased with the results. I have graded Hannah A4 because she worked with little material at the start of the project and really pulled through it all. I was so impressed with her professionalism when preparing her work station, always having clean brushes and good hygiene, and her gentle mannerisms when working on a client. Really well done, great job!!!


Side view by Hannah


Sunday, 6 December 2015

Three brushes makeup challenge

In our lesson today we were given the challenge of creating a makeup look using only three brushes. I decided to go for a complimentary colour design as I was working on a model with very blue eyes and wanted to make them pop. I'm all about the bright colours so I wanted to use a bright goldy/orange colour and define it using a warmer golden colour.


I like the finished effect for my model as it's pretty, however I was hoping for the colours to contrast a lot more!!! As my model was fairly tanned, the orangey/gold eyeshadow complimented her skintone rather than contrasting with it. Although it makes her blue eyes pop, (which was the intention) I wish it had turned out a little bit more dramatic.

Working with three brushes only..

I found the concept of this challenge really scary. I don't seem to use many face brushes but I really like to have a selection for eyes, blending and building colour is key. The three brushes I eventually chose were: Kryolan Foundation brush, Mac fluffy tapered eye brush and a small mac lip brush.

I normally like to blend foundation into the skin using my foundation brush and then my trusty kabuki brush, however I had to make do without today and I thought it'd be dissappointed.. I was pleased with how smoothly the product went on and didn't need much blending. It was also handy that I didn't have to cake on foundation as my model had good skin and didn't require much coverage.

My favourite brush of all time is my Mac tapered eye blending brush. I knew it would be perfect for blending my two very pigmented eyeshadows together, however I also knew that applying the product with it might be tricky. It was ok.. But I had to really wipe off the product with couch roll before I started blending.

I thought using the lip brush to do eyebrows was quite tricky as normally I'd use an angled brush. I applied the product little by little which seemed to do the trick; I can imagine if product was layered on very thickly with this brush the whole thing would look awful! Again, I had to clean this brush off and use it for the lips, which was just a simple pale pink matte gloss. I didn't want the lips to be a distraction to the eyes so thought this worked well.

Products used:

  • Mac Studio fix fluid foundation in 'NW15'
  • Makeup revolutions eyeshadow palette in 'Iconic 1' using gold shimmer and pale brown
  • No7 dramatic lash mascara in black
  • L'oreal eye brow palette in dark
  • Naked lipgloss 'barely there pink'
Brushes used:
  • Kryolan foundation brush
  • Mac tapered fluffy eye brush 
  • Mac lip brush

Monday, 23 November 2015

Peer exchange and practicing my partner's design


My partner and I exchanged pictures/notes about our final designs so that we were both clear on what the other person expect. Above is the face chart Hannah sent me after we had done a trial session with her makeup design in a free lesson. I had a couple of photos to refer to for Hannah's design, but she guided me through what to do as we came to it. I really love her design but we had had a discussion about whether or not it was 'Elizabethan' or not.. I thought it was, because of the royal pinks/purples and the reds and glitter. However, when we were practicing we made a few changes..

The first practice session, step by step!
The changed aspects of the design included the eyebrows and the lips. The base, eye makeup, lashes and the glitter used on the lips all stayed the same, but in the practice session as I  was filling in one of the brows it extended out too much. I had a little play and made it turn upwards and flow out, and Hannah loved it so we added this minor detail; which was fun! As well as this, I was filling in the lips and we both thought how great the look would be with a little love heart lip (to suit the era..) instead of the lips being fully coloured in. We then trialed this in the last session before the assessment..

Final practice session
As you can see, there are a few changes in these images compared to the last images. The brows, lips, and base look entirely different (and better). I was really grateful to have the time to practice the design a couple of times so that we could have changed it slightly if we needed to, I really wanted it to be perfect for Hannah and to show my technical makeup skills! I feel confident about the final assessment knowing that I got both of these looks down in under an hour. It was such a fun design to work with and really visually rewarding too.

Products used:

  • Illamasqua matte primer
  • Kryolan supracolour in white
  • Nars Vanilla concealer
  • Illamasqua translucent powder
  • Melt eyeshadows in 'Lovesick', 'Promiscuous' and 'Amelie'
  • Illamasqua liquid liner in 'Havoc'
  • L'oreal volumous black
  • MAC liner 'Beet'
  • MAC lipstick 'Russian red'
  • MAC pigment in 'Rust'
Brushes used:
  • Zoeva foundation brush
  • Zoeva flat blending face brush
  • Zoeva contour brush
  • Zoeva pointed face brush
  • MAC fluffy blending brush
  • Unnamed flat eyeshadow brush
  • Unnamed pointed concealer brush
  • Unnamed pointed eyeshadow brush
  • MAC lip brush
  • Kryolan small angled brush

Health and safety for this technical lesson:
  • Work surface area must be clean and tidy
  • Use couch roll to cover the surface of your work space 
  • Wash hands after preparing where you'll be working! Use antibacterial soap and a clean towel
  • Always lay out your brushes on the couch roll - never a surface. Make sure your brushes are always clean before you arrive 
  • Gown the model
  • Always remember to ask whether the client is allergic to anything, if so, what?
  • Does the client wear contact lenses or have sensitive eyes?
  • Cleanse the face and follow on with toner and moisturiser before applying makeup
  • Bin any dirty cotton pads, wash your hands again after this
  • Use a mixing palette or the back of your hand to mix products. Do not double dip!
  • Direct the model if necessary, looking upwards, moving their head etc